
插槽基本使用
插槽的用途就和它的名字一样:有一个缺槽,我们可以插入一些东西。
插槽 slot 通常用于两个父子组件之间,最常见的应用就是我们使用一些 UI 组件库中的弹窗组件时,弹窗组件的内容是可以让我们自定义的,这就是使用了插槽的原理。
我们在项目中新建一个 child.vue 文件,用来当作子组件,它的代码也非常的简单。
child.vue 代码如下:
1 | <template> |
然后我们直接在 App.vue 引用该子组件,代码如下:
1 | <template> |
输出结果:
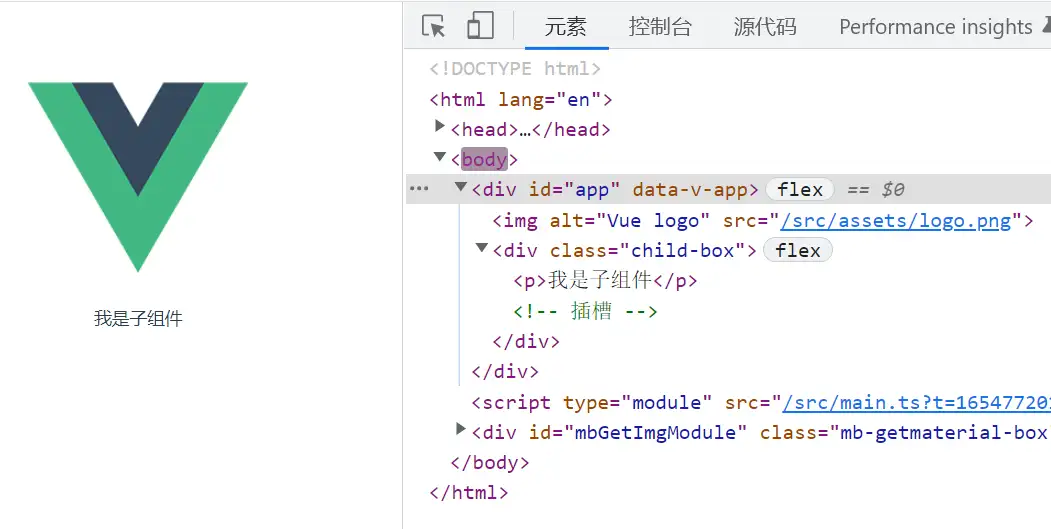
child 子组件代码非常的简单,唯一不同的里面我们添加了一对<slot></slot>标签,这就是插槽标签。这对标签就好比我们在 child 组件内部挖了一个槽出来,我们接下来就可以往这个槽里面放置一些内容。
那么我们如何往这个槽里面放置内容呢?
我们在 App.vue 里面通过一对闭合标签<child></child>调用了子组件,我们都知道 HTML 标签之间是可以插入内容的,虽然 child 不是 HTML 自带的标签,但是它却有着类似的特征,比如我们往<child></child>之间插入一点内容,代码如下:
1 | <template> |
输出结果:
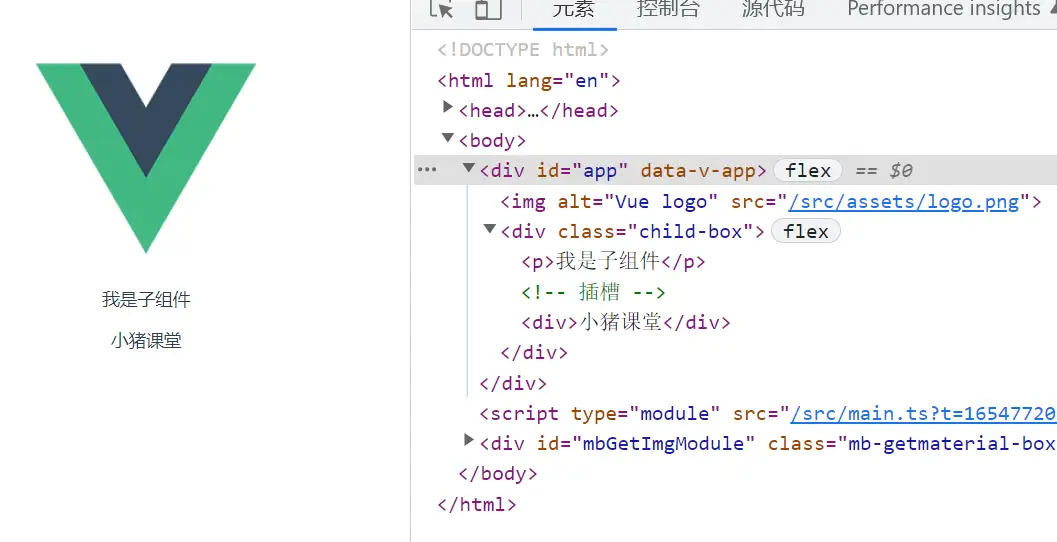
我们发现在<child></child>标签之间插入的内容被渲染出来了,那么这是为何呢?
前面我们说 slot 就是挖了一个槽出来,可以放置东西,这里我们在父组件中添加的 div 便就是我们要添加的东西,子组件中 slot 标签被替换为了我们插入的 div 元素。这就是插槽的最基本使用。
结论:
为了更好理解插槽,简单总结为以下几点:
- slot 是 Vue3 中的内置标签。
- slot 相当于给子组件挖出了一个槽,可以用来填充内容。
- 父组件中调用子组件时,子组件标签之间的内容元素就是要放置的内容,它会把 slot 标签替换掉。
最简单的理解:我们的使用 U 盘需要将 U 盘插入 USB 口中,此时 USB 口就是插槽,U 盘就是插口。在 Vue 中,<slot></slot>就是电脑插槽,父组件的内容就可以理解为 U 盘插口。
插槽默认内容
我们通常将插槽比作一个占位符,有内容进来时,自动把 slot 给替换掉。但是,如果没有内容进来时,那么应该渲染什么呢?
在很多场景下都会有这种需求,比如 UI 组件库中的弹窗,如果我们没有传入弹窗的头部或者底部,那么弹窗便会有默认的样式效果,这里就用到了 slot 的默认内容功能。
修改一下 child.vue 代码:
1 | <template> |
当我们的 App.vue 没有向 child 组件传入内容时,会是什么效果呢?
App.vue 代码如下:
1 | <template> |
输出结果:
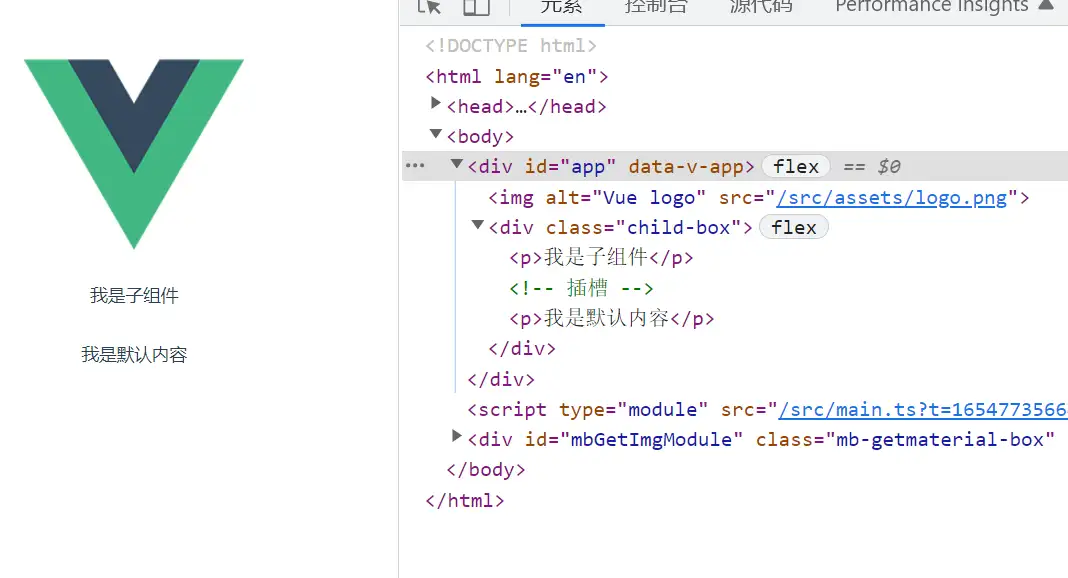
可以看到子组件同样渲染了内容,而且就是 slot 标签内的内容。那么我们我们往 child 组件传入一点内容会是什么效果呢?
App.vue 代码如下:
1 | <template> |
输出结果:
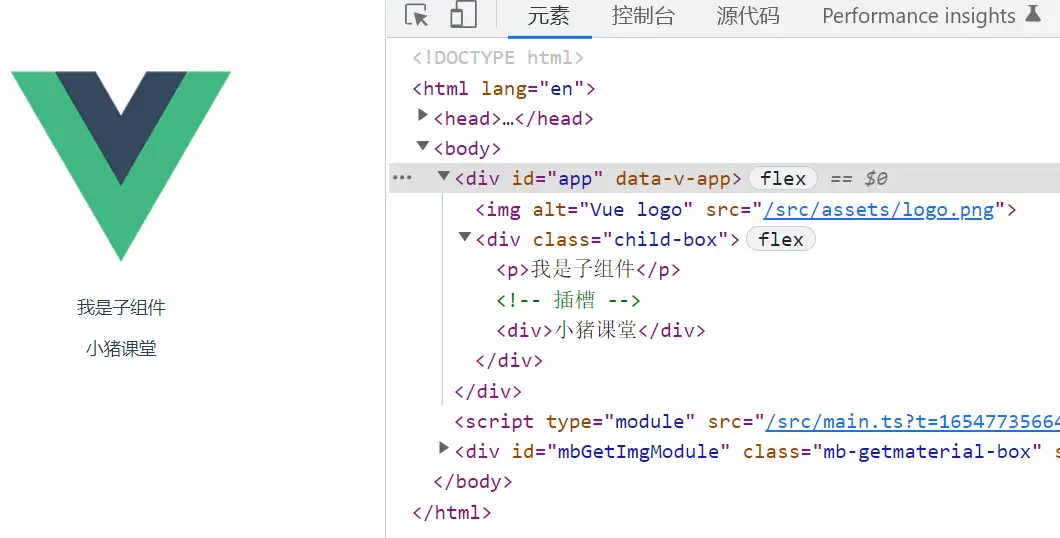
可以看到此时页面上渲染的 App.vue 父组件传入的内容了。
总结:
从上面例子不难看出,slot 标签内的内容就是默认内容,也就是当父组件没有传递给子组件内容时,子组件就会默认渲染 slot 内部的内容,但是 slot 标签是不会渲染出来的。
具名插槽
很多时候我们子组件中都不止只有一个 slot,比如弹窗组件,我们可能允许调用者同时传入 header、content、footer 等等,这个时候如果子组件中只有一个 slot,那么这么多内容该如何区分,或者说该如何渲染呢?
基本使用
这个时候为了区分插槽与内容的对应关系,我们可以分别给 slot 和内容都加上一个名字,插入插槽的时候大家按照名字区分好就可以了。
我们给 child 组件添加上多个 slot,并且给每个 slot 取上一个名字。
代码如下:
1 | <template> |
上段代码中我们添加了 3 个 slot 插槽,并且给其中两个 slot 标签添加了一个 name 属性,也就是每个插槽的名字。需要注意的是,上段代码中有一个插槽我们没有添加 name 属性,这个时候 Vue 会隐式的将这个插槽命名为“default”,接下来就是我们父组件 App.vue 添加内容了。
代码如下:
1 | <template> |
输出结果:
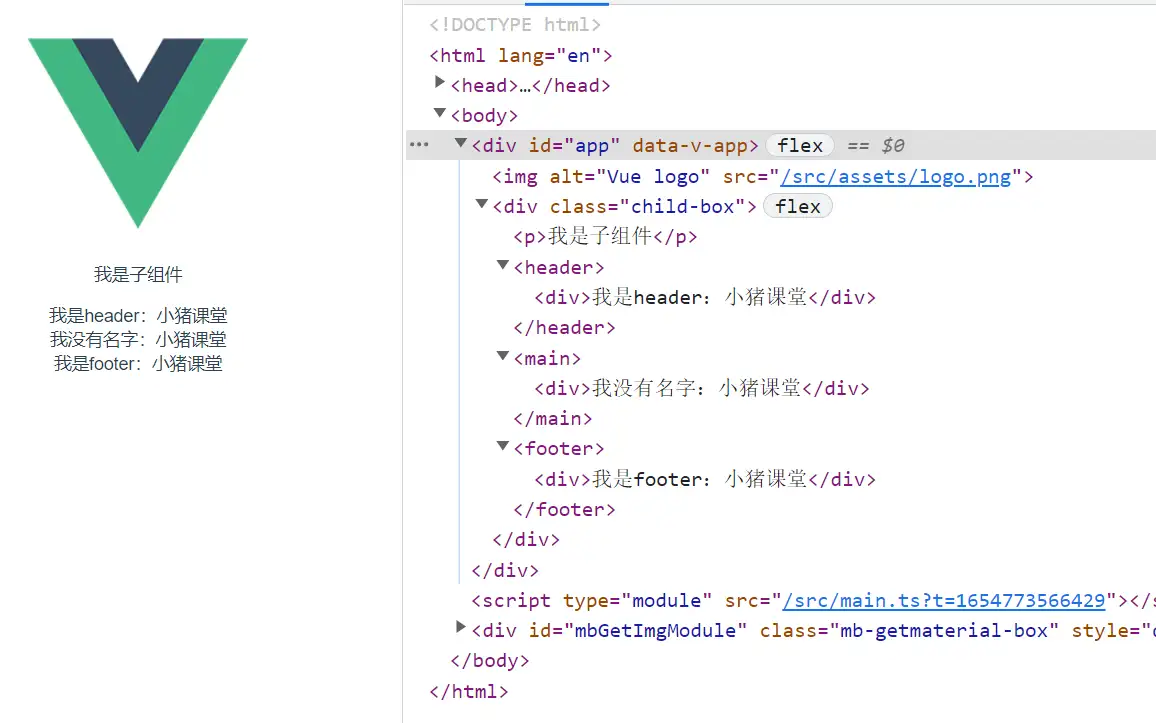
既然 slot 有了名字,那么我们在父组件中传入内容时就要和名字关系对应起来,我们采用 v-slot:header 指令的形式找到对应的插槽,需要注意的是该指令需要作用在 template 元素上。从上图可以看出,我们传入的内容都渲染到了对应的插槽内,没有命名的插槽渲染了我们传入的未添加指令的内容。
4.2 简写
在 Vue 中,很多指令都有简写形式,v-slot:name 指令也有简写形式,比如看我们下面的示例。
原写法:
1 | <template v-slot:footer> |
简写法:
1 | <template #footer> |
接下来我们在借用官网的一张图来清楚的了解具名插槽中的父子组件关系。
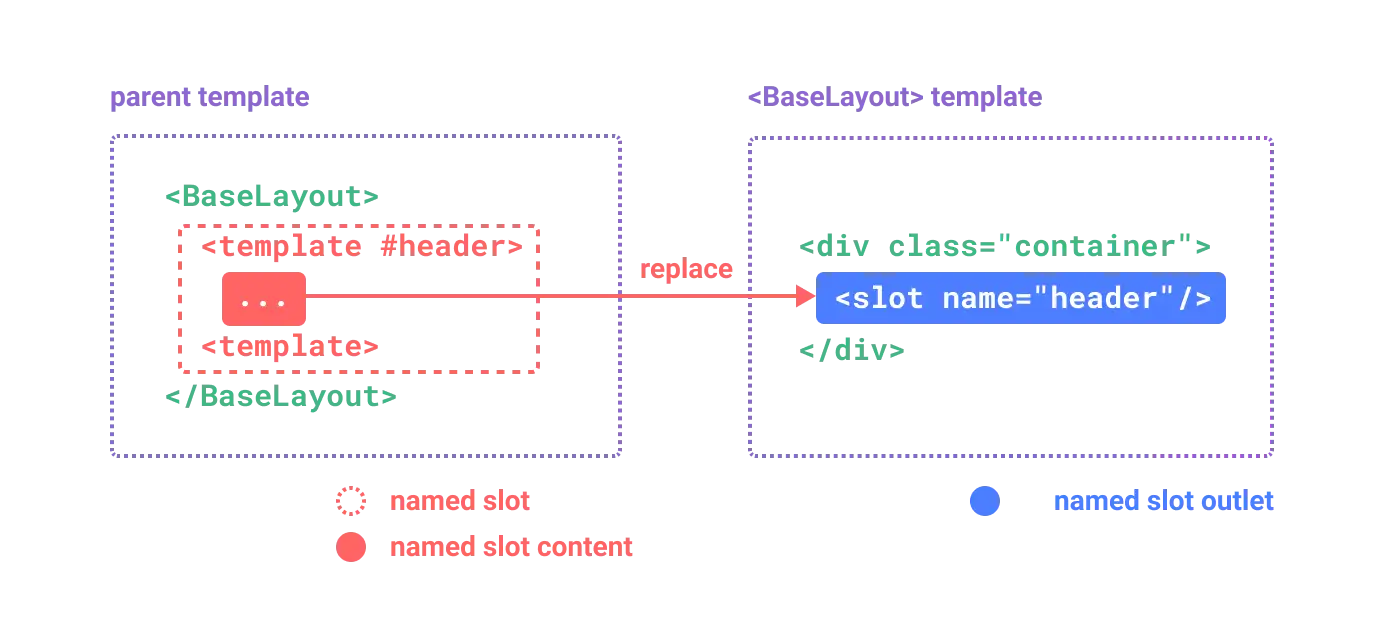
其中 BaseLayout 为一个子组件,就和我们 child 组件一样。
4.3 默认插槽与具名插槽混用
当一个子组件中既有具名插槽,又有默认插槽时,该如何渲染呢?
前面我们说默认插槽会被隐式的命名为 default,所以我们传入内容时可以将插槽名字改为 defalut 即可。
修改 child 组件:
1 | <template> |
虽然说子组件中有一个 slot 没有取名字,但是默认可以用 default 来代表它,就好比人刚出生的时候没有名字,但是他又一个默认属性:“人”。
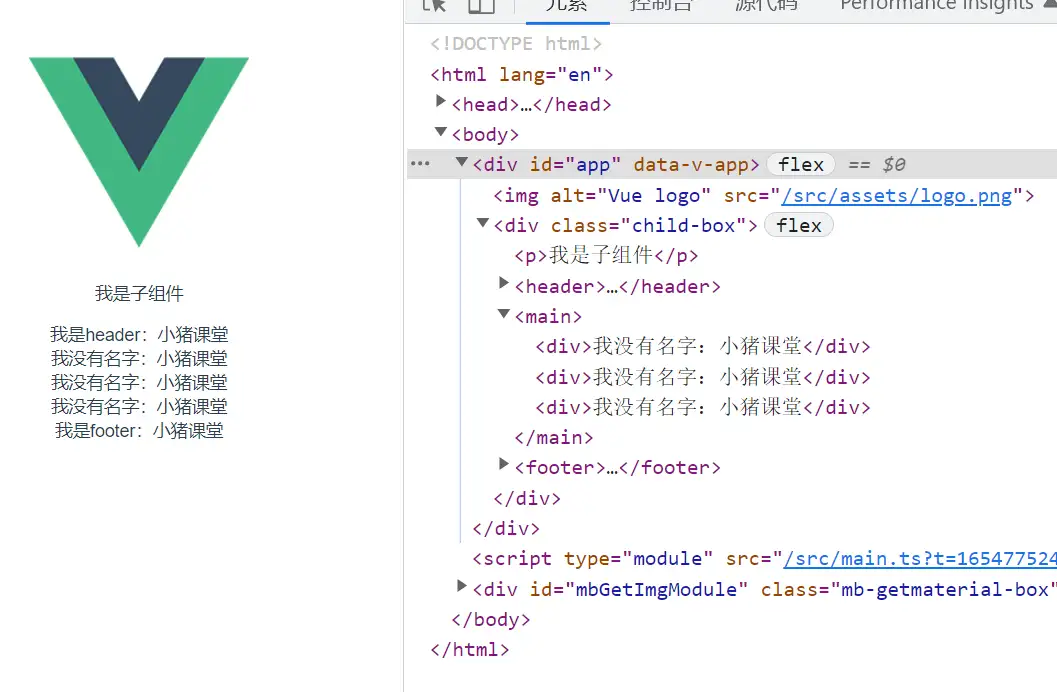
当然,既然大家都是默认的,在父组件中你也可以不用名字,这个时候内容会默认传入到未命名插槽中去。
代码如下:
1 | <template> |
输出结果:
动态插槽名
前面我们给插槽命名的时候都是直接写死的,其实我们有时候可以动态给插槽命名的,以满足更多的业务场景。
代码如下:
1 | <base-layout> |
上段代码就是在父组件中采用动态插槽名传入内容的示例。